This school year may come and go, but your school photos will live on forever in yearbooks, grandparents’ refrigerators, college slideshows, and that one friend who reshares it every year on your birthday. So let’s make sure this year you know how to take a good school picture without overthinking it. This guide covers prep, outfits, hair and skin, glasses, and posing. By the end, you’ll know how to take a good school picture whether you’re sending your teens and tweens to the camera or yourself.
Table of Contents

The night before: set the stage
Sleep. A rested kid looks like a rested kid. Keep the night-before routine normal and lights out at a reasonable time.
Lay everything out. Outfit (including backup top), hair supplies, and a small “touch-up” kit: tissues, a comb, travel wipes, lip balm, and a small microfiber cloth for glasses. This tiny bit of planning pays off when you’re focused on how to take a good school picture during a busy morning.

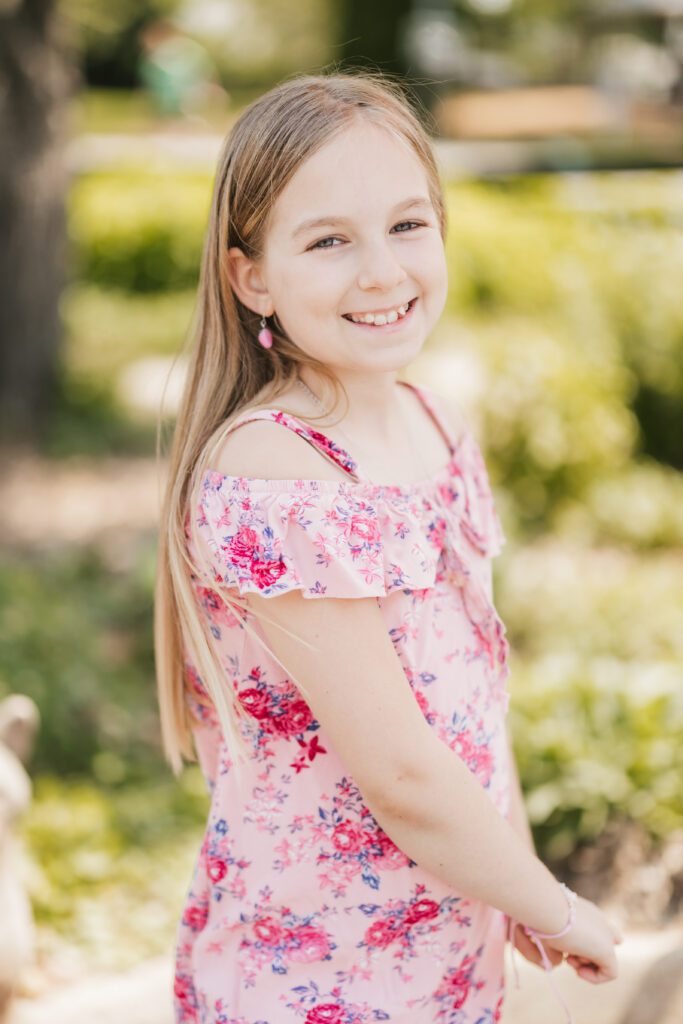
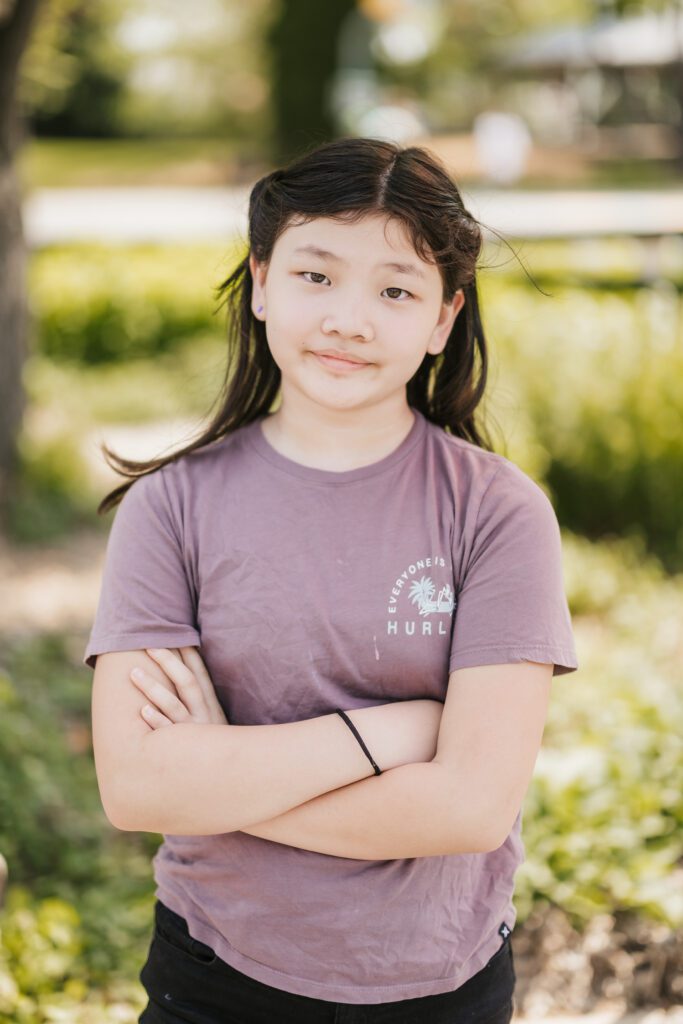
What to wear: simple wins
When you’re thinking about how to take a good school picture, outfits can either help or fight you.
- Prioritize fit and comfort: If a child is fidgeting with a tight collar or scratchy sweater, it shows.
- Go simple on patterns: Solids or subtle textures keep attention on eyes and expression. Loud logos or high-contrast stripes can moiré on camera and be a distraction.
- Consider background: If you know the backdrop is gray or blue, choose colors that won’t blend into it.
- Necklines matter: Crew, V, or collared shirts all work. Off-the-shoulder or oversized hoodies can slump and hide posture.
- Accessorize, but don’t overdo it.
Two-week skin prep plan for picture day
10–14 days out: set a simple baseline
- Lock a routine: gentle cleanser, light moisturizer, and daily sunscreen labeled “non-comedogenic.” The American Academy of Dermatology recommends SPF 30 or higher and broad-spectrum protection. Reapply if there’s outdoor gym, practice, or recess. Remember, higher SPF numbers aren’t a free pass to apply less. American Academy of Dermatology+1
- Wash, don’t scrub: cleanse twice a day with warm water. Skip gritty scrubs and harsh brushes, which can inflame skin and make acne worse. This is straight from the American Academy of Pediatrics. HealthyChildren.org
- Patch-test anything new: before introducing a new moisturizer, treatment, or sunscreen, test a quarter-sized spot twice daily for 7–10 days. That’s the AAD’s protocol for avoiding surprise reactions. American Academy of Dermatology
7–5 days out: remove stealth triggers
- Hair products can sabotage the hairline: oils, pomades, and some leave-ins travel onto the forehead and clog pores. Switch to products labeled “won’t clog pores” and keep hair off the face, especially with bangs.
- Watch friction and sweat: hats, helmet straps, chin guards, even a favorite hoodie can create or worsen acne. Rinse skin after practice and use breathable layers. AAD has a quick explainer on gear-related acne. American Academy of Dermatology
- Hands off: picking makes pimples larger, last longer, and can cause scarring. Definitely not what we want when we’re learning how to take a good school picture!
4–3 days out: steady as she goes
- Keep the routine boring: this is not the moment for a brand-new serum. Stay with the gentle cleanser, moisturizer, and SPF 30+. Apply treatments in the right order: cleanse, treatment, moisturizer, sunscreen.
- Spot care: for a red, inflamed blemish, an over-the-counter benzoyl peroxide or salicylic acid spot treatment can help. These are first-line options in dermatology guidelines.
The night before: calm and prep
- Hydrate, then matte: moisturize at night so makeup or powder sits better in the morning.
- If a pimple popped: a hydrocolloid “pimple patch” overnight can help protect the area and reduce fluid so it’s easier to conceal the next day. Remove in the morning.
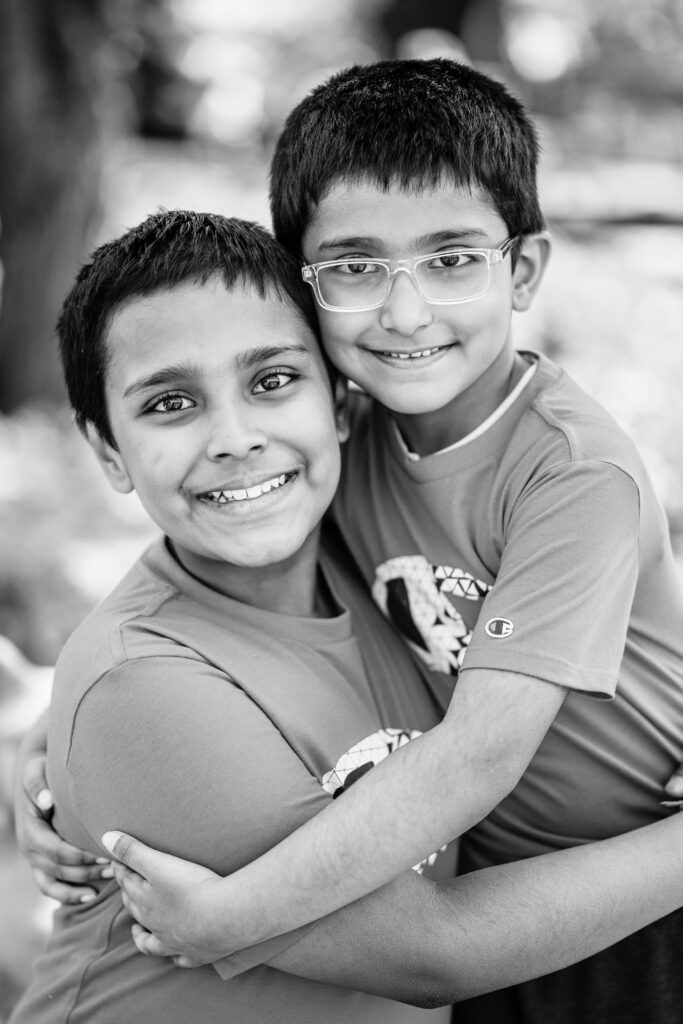
Glasses: keep them on, minimize glare
I get asked this a lot, I feel strongly that part of learning how to take a good school picture is to look like yourself. This means kids should wear their glasses if that’s how they look every day. To reduce glare:
- Clean lenses and tilt the chin slightly down while pushing the face gently toward the camera
- Ask your child to angle their face slightly away from the brightest light
- If you’re choosing lenses soon, anti-reflective coatings help reduce reflections and make eyes more visible in photos (and in daily life) per the American Academy of Ophthalmology. Read their overview of AR coatings: AAO: Eyeglasses and AR coatings.
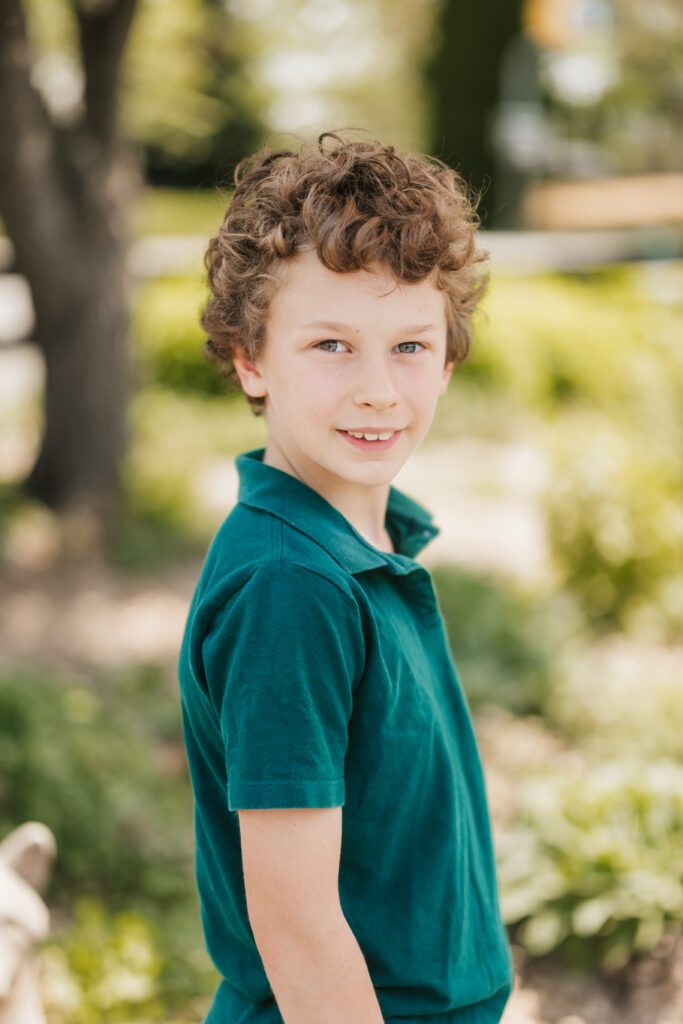
Smiles and expression: ditch “cheese”
A forced “cheese” pulls the mouth sideways and leaves the eyes out of the party. Natural smiles involve the eyes. Prompt something real: a tiny laugh, a silly prompt, or a memory that makes them grin. Photographers often use light prompts for that exact reason; see practical tips on natural smiles here: How to Capture the Happiest Smiles
If your child is nervous, rehearse light facial stretches and a soft exhale before the shutter. This simple prep is a repeatable trick when you’re teaching them how to take a good school picture without stiffness.
Posing and posture: micro-adjustments that matter
Your student doesn’t need modeling school when figuring out how to take a good school picture. Two tiny cues go a long way:
- Posture: Sit or stand tall from the hips up; roll shoulders up, back, down.
- Angle: Turn the body a touch off-camera, then bring the face back toward the lens. A slight “chin forward and down” defines the jawline.
Think about something funny, breathe out, then smile with the eyes.
Braces: confident smiles on picture day
Braces photograph just fine. If your child is proud of their braces, go with an easy, natural grin. If they prefer a softer, closed-mouth smile, that reads well too. Here’s how to set your child up so they know how to take a good school picture without worrying about their hardware.
- Keep the routine steady. Brush twice daily for two minutes and floss once a day. For brackets, use floss threaders or interdental brushes to get around the wire.
- Mind foods that stain or break things. Sticky, hard, or chewy foods can pop brackets and trap plaque, and highly colored or acidic drinks can discolor elastics. Choose gentler options the week of photos.
- Elastic color strategy, if there’s an appointment. Many orthodontists note that darker or “jewel-tone” ligatures can make teeth appear whiter, while white or yellow can stain or look dingy over time. Color is personal, but if your child wants that bright look on picture day, ask about blues, purples, or charcoal, and be cautious with white or yellow.
How to find your “good side”
Photographer: Which side do you prefer?
Dua Lipa: I don’t mind.
First things first: “good side” isn’t about perfection. It’s the angle that’s easiest to repeat and feels most like them. This is meant to help them discover it fast so they know how to take a good school picture without overthinking it.
I have a very strong opinion on what is my “good side.” Simply, I like how I look in pictures when I’m photographed on my left, and not when I’m photographed on my right. Maybe you’ve noticed something similar in your pictures?
Video test
Use a phone in video mode at eye level, facing a window or bright room light.
- Body angle: Start facing forward, then rotate the body 10–15° left; return to center; rotate 10–15° right.
- Chin move: For each angle, cue “chin gently forward, then a tiny notch down.”
- Three smiles: neutral mouth, small eye-smile, natural grin.
- Glasses pass (if worn): repeat the best two angles with a slight chin-down to check glare.
Scrub the video and screenshot 4–6 frames you like. The “good side” is the one that’s easiest to recreate and looks relaxed in the eyes.
Hair part rule of thumb
- Part away from camera if the part line casts shadow or makes the nearer eye look smaller.
- Part toward camera if bangs/fringe frame the eye nicely and don’t block light.
Pick whichever side keeps both eyes bright and open.
Micro-moves that flatter almost everyone
- Posture reset: shoulders up–back–down; lengthen through the crown.
- Chin forward + down a hair: defines the jaw without turtling.
- Lower-lid squeeze: a tiny “eye smile” (not a squint) brings life to the eyes.
- Weight shift: if standing, weight on the back foot; front shoulder a touch closer to camera.
What to look for when choosing the side
- Bright eyes, no heavy shadow on the nearer eye.
- Jawline separation from the neck (no “merging” lines).
- Nose not breaking the far cheek outline unless that look is intentional.
- Hair behaves on that side: no flyaway halo, no heavy strand across the eye.
- Glasses glare minimal with a slight chin-down or tiny head turn.
Common pitfalls to avoid
- Over-tilt. A big head tilt looks awkward; keep it subtle.
- Chin drop without reach. Down without forward flattens features—always reach first, then lower.
- Tight shoulders. If they creep up, reset posture and exhale.

Day-of checklist: execute without chaos
- Breakfast and water. Low blood sugar is the enemy of natural smiles.
- Dress last. Avoid toothpaste and makeup smudges on clothes.
- Final touch-ups. Smooth collars, tame flyaways, quick glasses wipe, chapstick.
- Mini pep talk. “Stand tall, breathe, think of something funny, look toward the lens.”
Retakes and Edits
Even with all of the information in this post on how to take a good school picture, sometimes the photo just…isn’t it. Knowing how and when to request a retake or an edit will save you time and help you get a portrait you actually want to print.
When a retake makes sense
Ask for a retake when there’s a fix that posing or timing can realistically address:
- Technical issues: glare on glasses, harsh shadows, odd color cast, focus problems.
- Expression: the “I-was-mid-blink” face or a smile that doesn’t look like your kid.
- Wardrobe/hair mishaps: twisted collars, flyaways, food on a shirt.
For retakes, giving the photographer actionable notes can also be very helpful.
When an edit is enough
Small edits can correct issues without needing a full retake:
- Basic corrections: exposure, color balance, crop straightening.
- Temporary distractions: a single, inflamed blemish the week of photos; lint; flyaway hairs.
Where to draw the line
Learning how to take a good school picture also means supporting your child to feel comfortable in their own skin. Heavy edits that change how a child actually looks (slimming a face, reshaping features, whitening teeth several shades) may solve a short-term worry while feeding a long-term problem. The American Academy of Pediatrics links exposure to highly edited images with lower self-esteem and appearance pressure; their guidance also gives parents language for talking about altered images. HealthyChildren.orgAAP
How to Take a Good School Picture: A Practical Guide for Parents and Students
If you only remember five things about how to take a good school picture, make them these:
- Sleep and breakfast. Prevent tired eyes and flat moods.
- Simple outfit, clean lenses. No visual clutter.
- Posture + micro-angle. Tall body, slight turn, chin forward and down.
- Natural smile prompt. Tiny laugh, warm thought, quick exhale.
- Advocate kindly. Retakes are normal; privacy questions are valid.

Blaire Ring (Second Ave Photography) is an award-winning photographer in Northern Virginia, bringing her signature emotive yet laid-back & natural vibe to newborn, family, maternity and school photography. Her work has been featured in magazines and online blogs around the world. In 2023 Blaire was named one of Loudoun’s 40 Under 40, and she is a dedicated volunteer for Now I Lay Me Down To Sleep.